
A good photo can still gain a lot in the edit. This workflow shows how Photoshop for photographers works in practice, from the first crop to the final export. Follow the steps in this order and you will avoid most common mistakes.
Start with the composition. Crop to the format you need and straighten the horizon. Do this first, so you do not edit parts of the image you remove later.
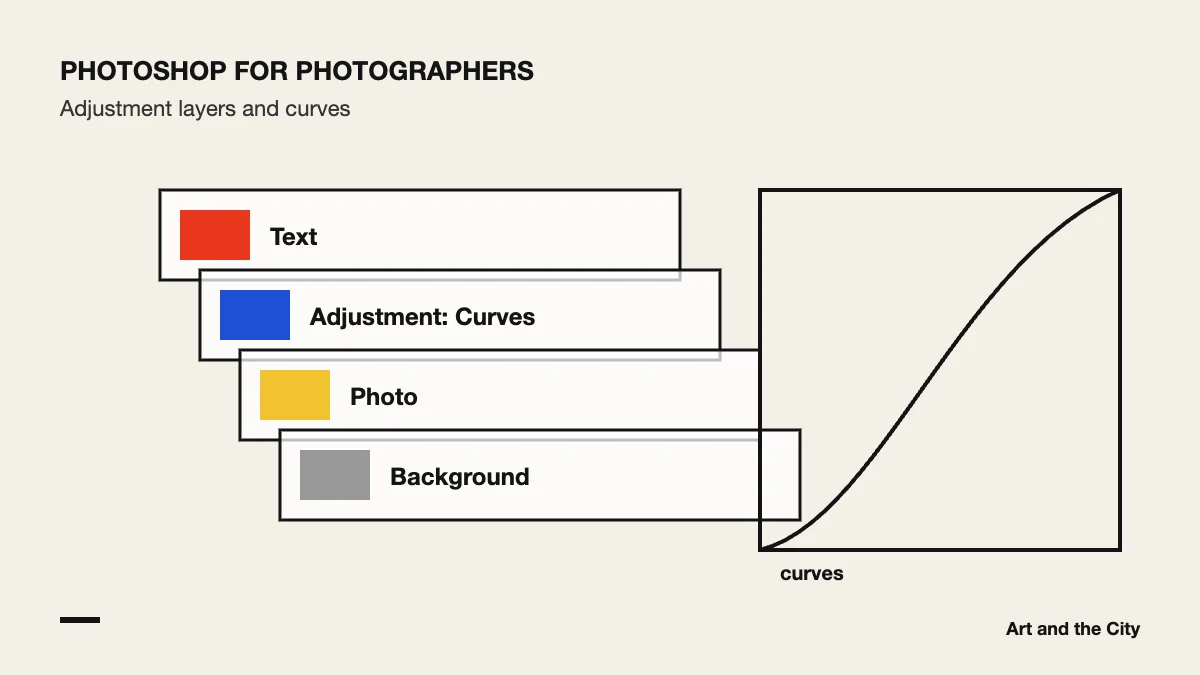
Use a Levels or Curves adjustment layer to set the brightness and contrast. Look at the lightest and darkest parts of the image and make sure both still show detail.
Remove unwanted color casts first. Then adjust saturation with care, because natural colors usually look better than strong ones.
Use an adjustment layer with a mask to lighten a face or darken a sky. The mask limits the change to the area you paint, so the rest of the photo stays untouched.
Remove dust spots and small distractions with the healing and clone tools. Work on a new layer so you can undo each step.
Sharpen as the last step and choose the output. For instance, a web file needs a much smaller size than a print file. Keep the layered Photoshop file as your master.
Adjustment layers, masks and separate retouching layers let you change any step later. In fact, that is the main habit that separates a quick edit from a professional one.
Adobe explains each adjustment in detail in the Photoshop user guide. Would you rather learn Photoshop for photographers with feedback from a teacher? Then take a look at our online graphic design course.
