Illustrator can look complex at first. However, you only need a handful of tools to start. This guide to Illustrator for beginners shows which ones to learn first, and in what order.
Illustrator makes vector graphics: logos, icons, patterns and infographics. Because vector shapes are built from points and curves, they stay sharp at any size, from a business card to a billboard.
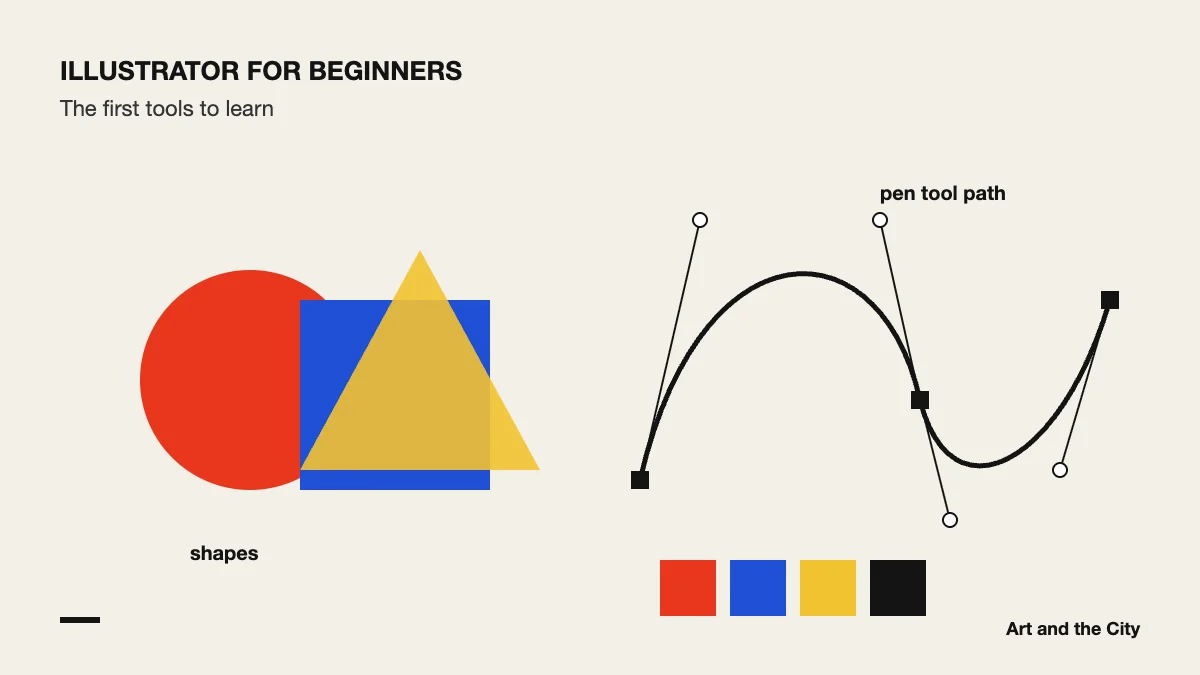
Most logos and icons start as simple shapes. First combine circles, rectangles and triangles. Then use the Shape Builder tool to merge or cut them into a new form.
The Pen tool draws paths with anchor points and curves. It takes practice, so don’t worry if your first curves look clumsy. Trace a few simple objects until the curves feel natural.
Save your colors as swatches so you can reuse and change them in one place. In addition, start with a small palette of two or three colors. That keeps your work calm and easy to adjust.
Add text with the Type tool and choose a font that fits the subject. For a logo you can convert the text to outlines. As a result, it looks the same on every computer.
Use layers to keep parts of your drawing apart. Use artboards to place several formats in one file, for example a logo in color and in black and white.
Name your layers, remove stray points and group related shapes. A clean file is easier for you and for everyone you send it to. Finally, export as SVG, PDF or PNG, depending on where the work will be used.
Draw an icon of an everyday object with three shapes and two colors. Next, export it as an SVG and as a PNG, and compare the two files. For instance, zoom in on both and see which one stays sharp.
Adobe’s own Illustrator user guide is a good reference when you want to look up a single tool. Even so, most people learn faster with feedback. Illustrator is one of the three Adobe programs in our online graphic design course, next to Photoshop and InDesign. There you practice with a teacher who looks at your work every week.
